Paver Patio Ideas for Beginners
This post contains affiliate links. If you buy through them, we may earn a commission at no extra cost to you. As an Amazon Associate we earn from qualifying purchases. Learn more.
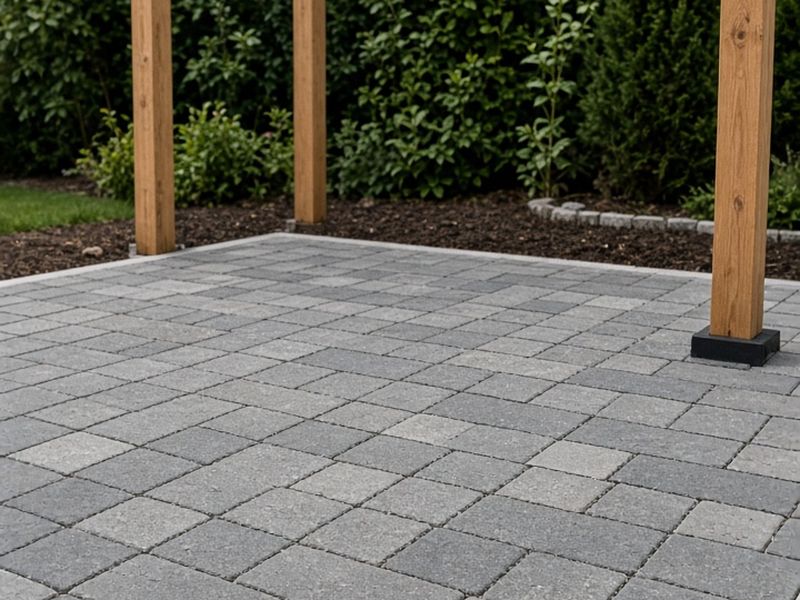
A paver patio is one of the most satisfying DIY projects you can take on. It is mostly digging and leveling, it rewards patience more than skill, and the result can last for decades. Here is how a beginner can get it right the first time.
Choose a simple shape and pattern
Beginners should start with a square or rectangle sized to the paver dimensions so you make fewer cuts. Common sizes for a seating area run from about 10 by 10 feet to 12 by 14 feet.
- Running bond, like brickwork, is forgiving and looks classic.
- Basketweave pairs rectangular pavers at right angles.
- Herringbone is the strongest for driveways but needs many edge cuts.
- Large-format square slabs go down fast and look modern.
If you plan to add a pergola later, size the patio so posts land on the patio or just outside it.
Tools and materials
You will need a shovel, a long level, string and stakes, a hand tamper (or a rented plate compactor for larger jobs), a rubber mallet, a screed board or two lengths of pipe, and a saw or chisel for cuts. Materials include pavers, crushed gravel base or paver base panels, bedding sand, edging restraint and polymeric joint sand.
Step by step
- Call 811 so utilities are marked, then outline the patio with stakes and string.
- Set a slope. Water must drain away from the house; a common guideline is about 1/4 inch of fall per foot.
- Excavate. The total depth equals gravel base plus about 1 inch of sand plus paver thickness. For a walking patio, gravel base is commonly 4 to 6 inches; check the paver maker's instructions for your soil.
- Add base in 2-inch layers, dampening and compacting each layer. This step decides whether your patio stays flat, so do not rush it.
- Lay pipes on the base and spread sand over them, then drag a straight board across to screed a perfectly even 1-inch layer. Remove the pipes and fill the grooves.
- Lay pavers from a corner, setting each straight down rather than sliding it. Keep joints tight and check lines with string often.
- Cut edge pieces with a masonry blade or a rented wet saw. Wear eye and hearing protection and a dust mask.
- Install edge restraint around the perimeter and spike it in.
- Sweep polymeric sand into the joints, compact the surface once more, sweep again, then mist with water following the bag's directions.
Common beginner mistakes
- Skimping on base depth or compaction, which causes sinking.
- Forgetting slope, which creates puddles against the foundation.
- Using too much sand under the pavers, which lets them rock.
- Skipping edge restraint, which lets the edge creep apart.
- Applying polymeric sand to wet pavers, which leaves a haze.
Add a pergola on top
A paver patio becomes an outdoor room the moment it gets a ceiling. To add a pergola, you can either pour concrete footings below frost depth before laying pavers, or use surface-mount post base anchors bolted into concrete pads. Avoid anchoring posts only into pavers, because wind can lever them loose. Check whether your area requires a permit for a pergola of your size.
Frequently asked questions
How long does a DIY paver patio take? A small patio is often a two-weekend job for a beginner: one for excavation and base, one for laying, cutting and sanding. Digging is usually the slowest part.
Can I lay pavers on dirt? Pavers laid directly on soil tend to sink and shift. A compacted gravel base, or a manufacturer-approved base panel system, is what keeps a patio flat.
Should I seal pavers? Sealing is optional. It can deepen color and resist stains, but it needs reapplying every few years. Many people skip it at first.
How do I prevent weeds? Properly installed polymeric sand resists weeds and ants. Topping up joints every few years and sweeping debris off the surface helps too.
Design ideas to make it special
- Add a border row in a contrasting color for a finished look.
- Leave a planting pocket in one corner for a small tree or tall grass.
- Build a seat wall from the same retaining blocks used for a fire pit.
- Extend a curved path of matching pavers to the gate or garden.
- Install low-voltage paver lights along the edge for nighttime safety.
Budget tips
Pavers are priced per square foot, and base materials add more. Save money by choosing standard concrete pavers over natural stone, using a rented compactor for one day, and picking up materials yourself rather than paying delivery. Clearance pallets of discontinued colors can be a real bargain for a small patio.
Take your time on the base and the rest takes care of itself.
Shop the ideas
- Paver base panels on Amazon
- Polymeric sand on Amazon
- Hand tampers on Amazon
- Rubber mallets on Amazon
- Paver edging on Amazon
- Pergola post anchors on Amazon
Links go to Amazon search results so you can compare current options, prices and reviews yourself.
Save this idea to Pinterest.
More backyard ideas
- Screened Porch Makeover Ideas
- Outdoor Kitchen Ideas on a Budget
- Backyard Privacy Ideas (Cheap and Fast)
Images: AI-generated illustrations created for The Backyard Gazebo.